Saturday, January 26, 2013

Birthdays and Hawaiian Ham and Cheese Sliders


Birthdays are a super special event in our house or at least we try to make sure they are :0). While working on the plan for this year's upcoming birthdays of our soon to be 4 and 2 year olds, I am reminded of last year's parties. The almost 3 year old (at the time) was finally able to have an opinion about her party theme and chose a monster party which turned out to be a blast! And since our littlest was too young to decide for herself, we chose a luau theme which was perfect for her late June birthday. The hit of the luau were these incredibly delicious ham and cheese sliders on Hawaiian rolls! I had first discovered them at our niece's birthday and they were so good I knew they would make the perfect addition to our luau. I'm pretty sure I could eat an entire pan of these myself so beware ;0).

Hawaiian Ham and Cheese Sliders


1- 12 pack King's Original Hawaiian Sweet Dinner Rolls
1 lb. Deli Ham
1 lb. Swiss cheese (thinly sliced)
1 stick of butter
1 Tbsp. Dijon Mustard
1 Tbsp. Worcestershire Sauce
1 1/2 tsp dried minced onion
Poppy seeds

You can leave rolls intact but slice through the middle. Layer with cheese, ham, and more cheese. Top with roll tops. Place rolls in a 9x13 pan. Mix butter, mustard, Worcestershire sauce, and onion in a small saucepan until butter is melted. Pour over tops of rolls. Sprinkle with poppy seeds. You can refrigerate a few hours, overnight, or not at all (I usually go for not at all as I want them now but for the party I did them before hand and refrigerated them until I was ready). Bake at 350 degrees for 20 minutes or until tops are golden brown and cheese is melted (if tops are browning too quickly, cover with aluminum foil until cheese is melted). Serve warm.

Be on the lookout for more on this year's parties: a Superhero party for our eldest Super Girl and either an owl or Elmo party for the youngest :0) I've included a few pictures below of our monster party and luau for fun. Enjoy the sliders!

The birthday girl waiting so patiently!
Party favor bags for the guests
Funny face but a good one of her monster outfit; thanks Grandma Grace!
Birthday banner
Dessert!!

The birthday girl posing for her invites
The dessert table is prepared
Teddy bears in inner tubes
Teddies on the beach
Umbrella wreath
Birthday banner...love my cricut!
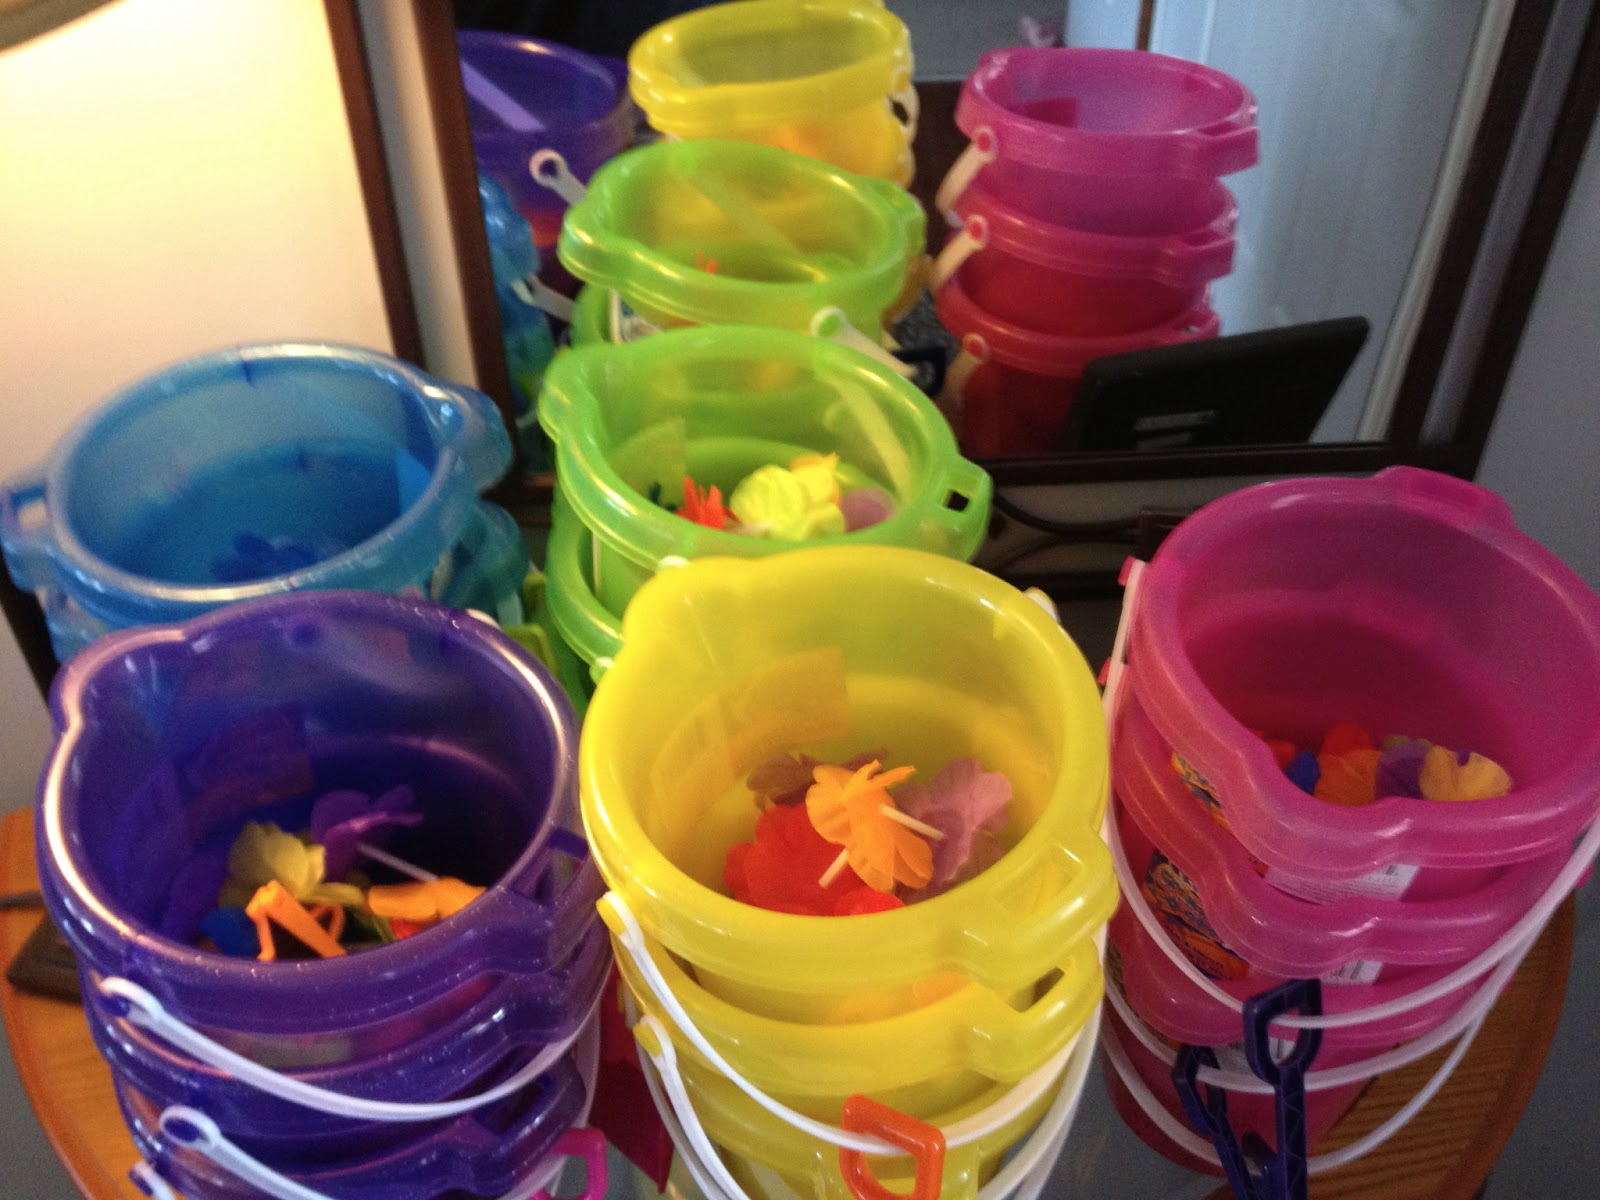
Party favor buckets
Fruit platter
Birthday girl in her Hawaiian dress


Sunday, January 6, 2013

Back Again and Buttermilk Brined Turkey Breast

Welcome back! I know it's been awhile. My laptop died and typing on an iPad is not the easiest thing to do so I was lazy and gave up. For Christmas, I got a bluetooth keyboard case for my iPad so I am back in business with lots of recipes to share! 
     One of my favorite foods is BBQ. We have a few sit down BBQ restaurants up here in the north but BBQ is generally expensive and paying a tip on top of that deterred us most of the time. I had just commented to my husband that they should have a BBQ fast food restaurant of sorts when we noticed a sign on a restaurant being built. It read City BBQ and wouldn't you know, it is exactly the type of restaurant I was talking about! 
     For the last two years, we have frequented City BBQ a lot of times. In fact, while I was pregnant with G, we ate there at least once a week and that was my first meal after her delivery. About a year and a half ago maybe, my brother in law got a smoker and smoked pork for my nephew's birthday party and a turkey at Thanksgiving...the flavors were amazing! I began wishing for our own smoker. My wishes were granted this year for my 30th birthday when my husband bought me a little charcoal smoker. The pork was delicious but it took a really long time as it was hard to keep the smoker up to temp. We decided to go ahead and upgrade to a propane smoker and I'm so glad we did! We've now smoked a few pork butts, a chicken, and a couple turkeys. We still enjoy going to City BBQ for delicious food but we also enjoy making our own at home as well. I saw a picture of a buttermilk brined turkey on Pinterest (I told you I was addicted) but after discovering the brine to be a mix you were supposed to buy from Williams and Sonoma, I ran to my next recipe source: The Food Network. Hooray! I discovered a buttermilk brine created by Guy Fieri. You can check out the original page here
     Fieri's recipe has you baking the turkey but if you have a smoker I highly recommend it! We used a mixture of cherry, apple, and hickory chips. The fresh turkey breast I bought at Target was a little over 6 pounds so I doubled the brine.


Buttermilk Brined Turkey Breast


Ingredients
  • 1 (2 1/2 to 3-pound) turkey breast, bone-in
  • 3 cups buttermilk
  • 1/2 cup hot sauce (recommended: Crystal; I used Frank's)
  • 2 tablespoons kosher salt
  • 1 tablespoon dried basil
  • 1 tablespoon granulated garlic
  • 1 tablespoon fresh cracked black pepper
  • 1 teaspoon cayenne pepper
  • 1 teaspoon ground white pepper
Directions
Combine all the ingredients together in a large resealable plastic bag (or box in my case). Place in a bowl, to catch any leaks, and refrigerate for 12 to 24 hours. Take out, pat dry and smoke (see link above for oven directions).

Prep work is done!


Turkey is swimming in the buttermilk brine.

Into the fridge we go...goodnight!

Turkey is out and warming up slightly before going into the smoker.

Love our smoker! We are able to cook several things at once which comes in handy sometimes. 

About 3 1/2 hours later we reached the magic temp for turkey
Beautiful golden brown!
Nice and juicy... and look... a nice pink smoke ring!
Dinner was delicous and there's plenty of leftovers for sandwiches!

I'll try to get back to my weekly posts; enjoy!